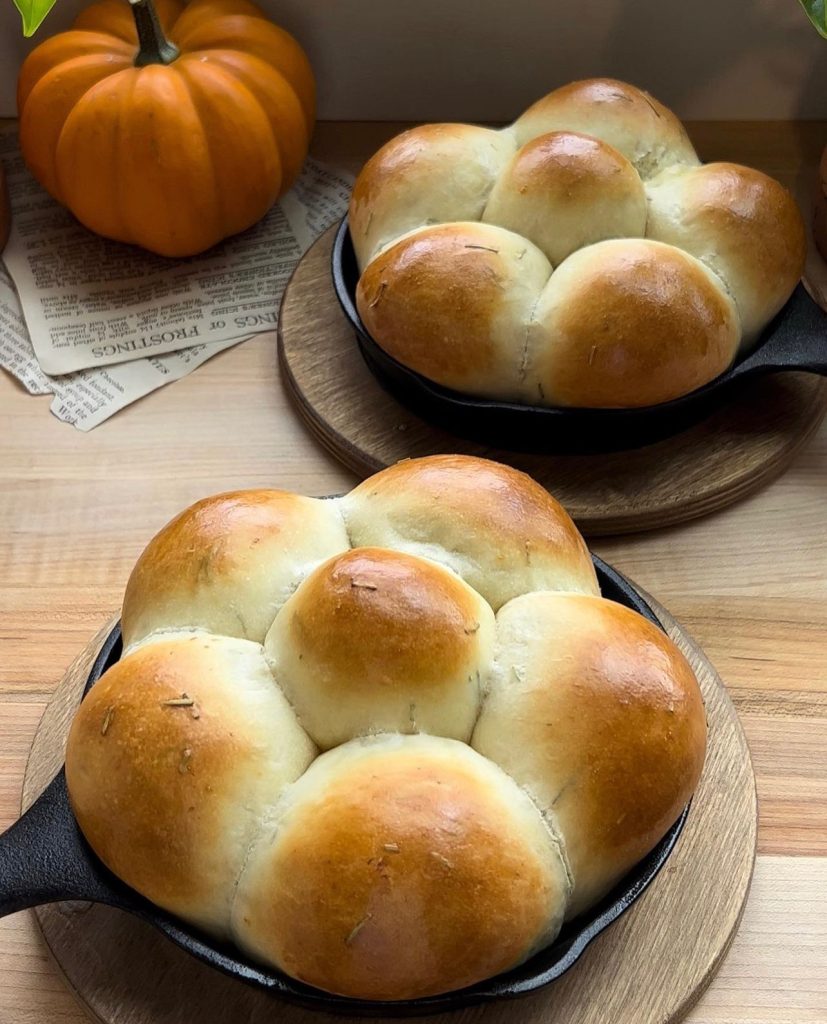
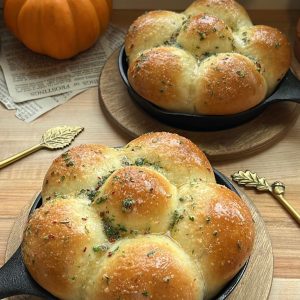
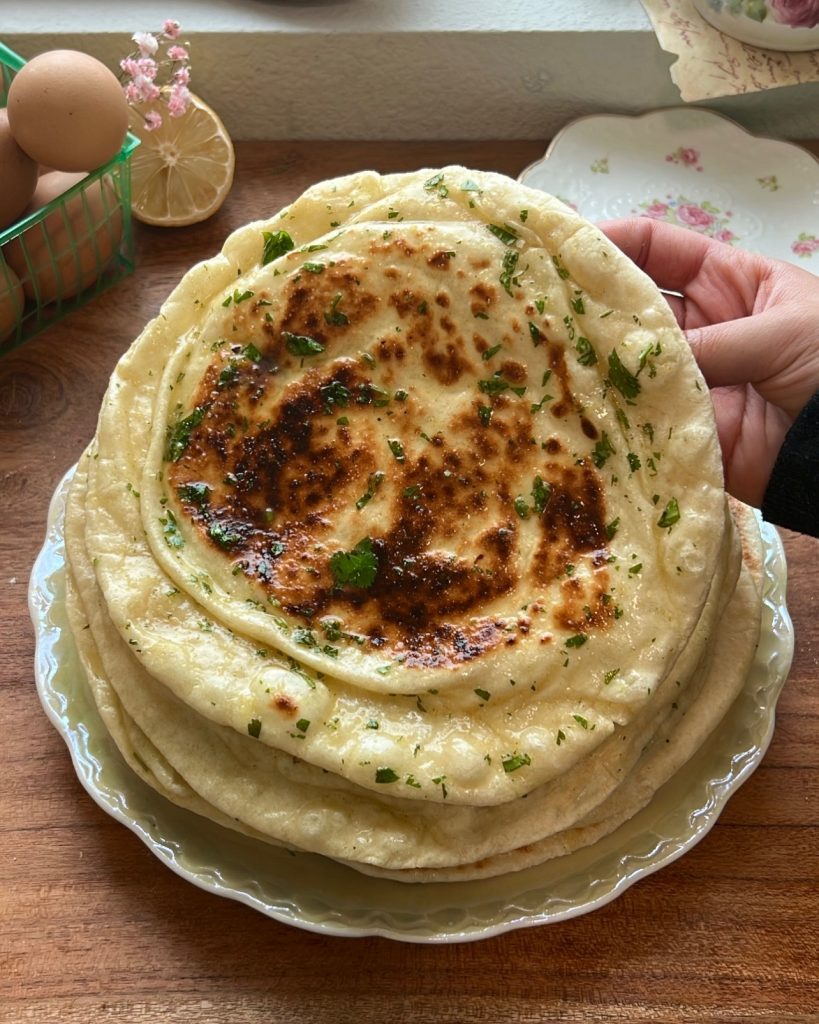
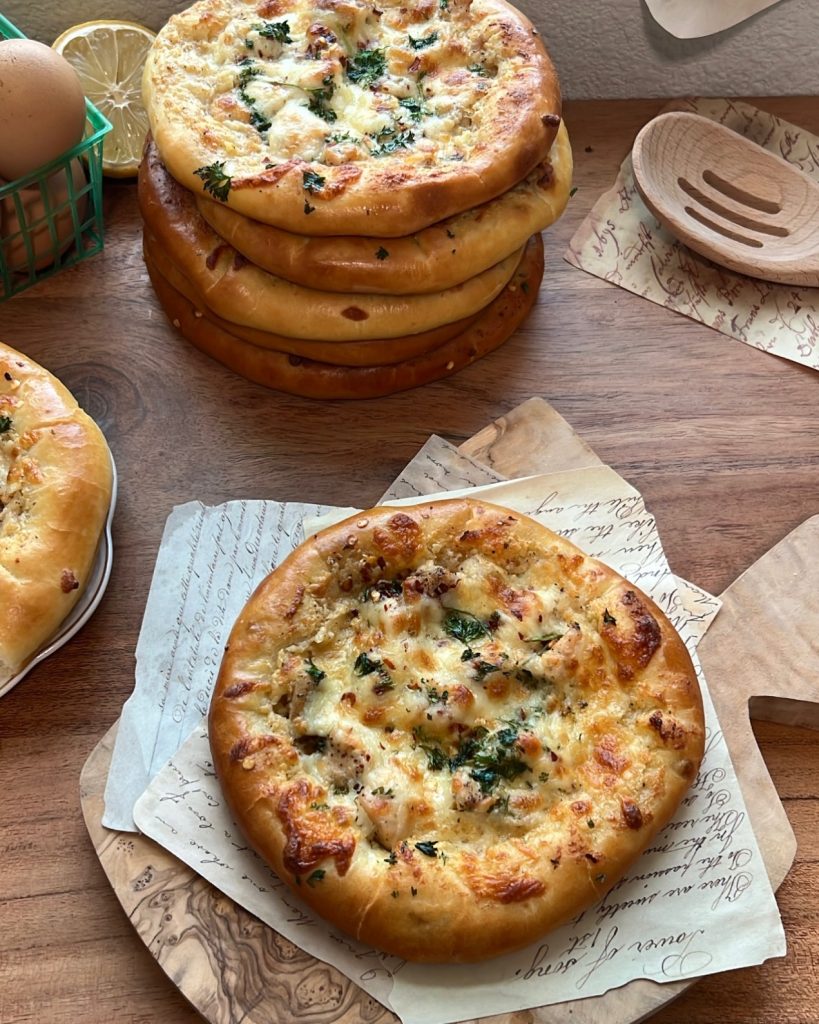
Mozzarella stuffed Rosemary Pull-Apart Bread
- May 16, 2023
- 17 Comments
- Appetizers
If you know me, you know this is my all-time favorite side dish! Your home will be filled with the incredible scent of freshly baked bread infused with fragrant rosemary – and there is truly nothing better.
Today we’re making Mozzarella Stuffed Rosemary Pull-Apart Bread!
Here’s a video to guide you along the process:
Few tips:
- Lightly flour your work surface and knead your dough. Don’t be heavy handed with your flour! Only add a little at a time until the dough is easy to work with. We want the texture of our dough to stay soft and pillowy. If too much flour is added, it will result in your bread coming out too dense and unappetizing
- Before filling your dough, lightly flour your hands. This prevents sticking and makes it easier to handle and pinch the dough.
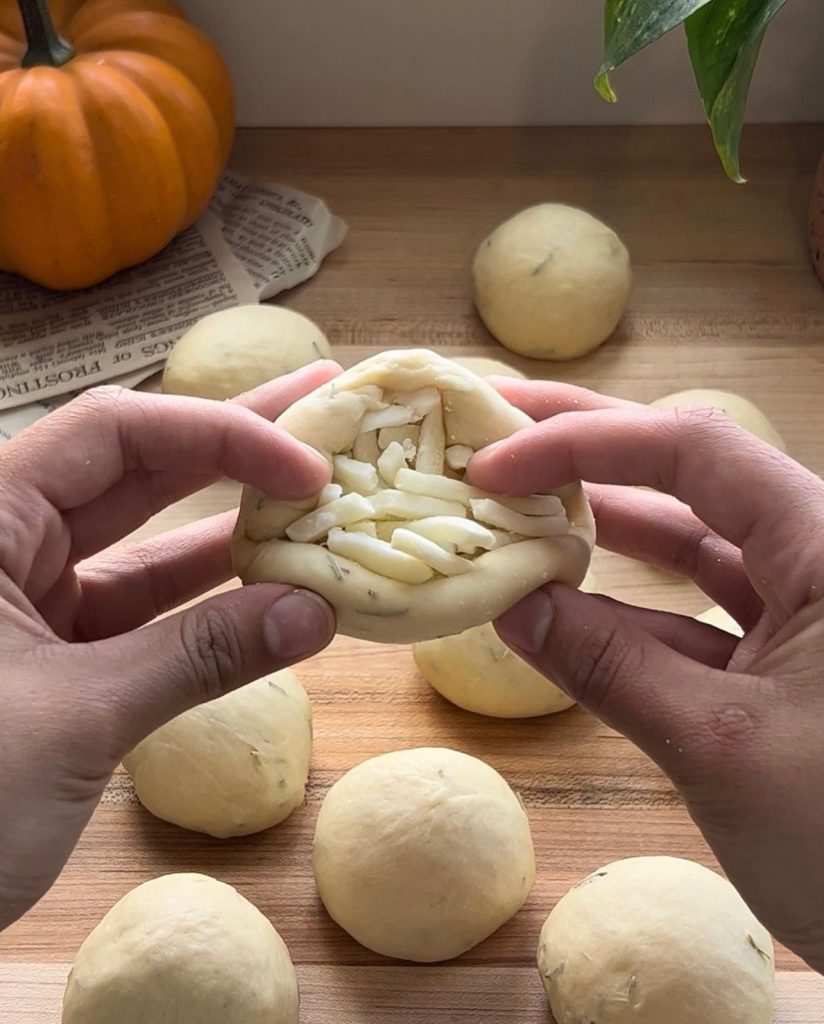
- Go heavy on the cheese! Adding plenty of cheese means each piece of bread gets that perfect balance of bread and filling (just be careful not to tear the dough when adding your mozzarella).
- Make sure you have enough dough to wrap around the filling fully. If the dough’s too thin, it might not hold the cheese as well.
- When sealing, press the dough edges together with just enough pressure to keep them closed. Use your fingers to pinch the layers firmly so the cheese stays tucked inside.
- Line your pan with parchment paper! Prevents any cheese from burning directly on your baking sheet, and makes for a much easier clean-up.
- Serve fresh! They of-course will taste just as phenomenal the next day, but nothing compares to freshly baked bread. Allow the bread to cool for a few minutes before pulling it apart. This will help it to set and prevent the fillings from being too hot to enjoy
Process:

Mozzarella stuffed Rosemary Pull-Apart Bread
This recipe is a true masterpiece. It combines simplicity and indulgence, making it the perfect choice for any gathering or a delightful treat to savor on your own.
Ingredients
Sponge:
- 1 tbsp Active dry yeast
- 2 tbsp Sugar
- 1 cup Warm water
- 1 cup All-purpose flour
Rest of dough ingredients:
- 1 1/2 cups All-purpose flour
- 2 tsp Kosher salt
- 1/3 cup Olive oil
- 1 tbsp Rosemary fresh or dry
Garlic Butter:
- 4 tbsp Unsalted butter melted
- 1/2 tbsp Garlic powder
- 1/4 tsp Kosher salt
- 1/2 tsp Red pepper flakes
- 1 tsp Parsley fresh or dry
Filling:
- 1 lbs Mozzarella cheese
Egg wash:
- 1 Egg
- 2 tbsp Water
Instructions
- Preheat oven to 365°F
Prepare your sponge:
- Mix together your yeast, sugar, warm water, and flour in a bowl. Cover with a damp paper towel, and allow to sit for 10 minutes.
Prepare your dough:
- After 10 minutes, add the rest of your flour (1 1/2 cups), salt, rosemary, and olive oil to your sponge.
- Take a large mixing spoon and roughly combine dough ingredients.
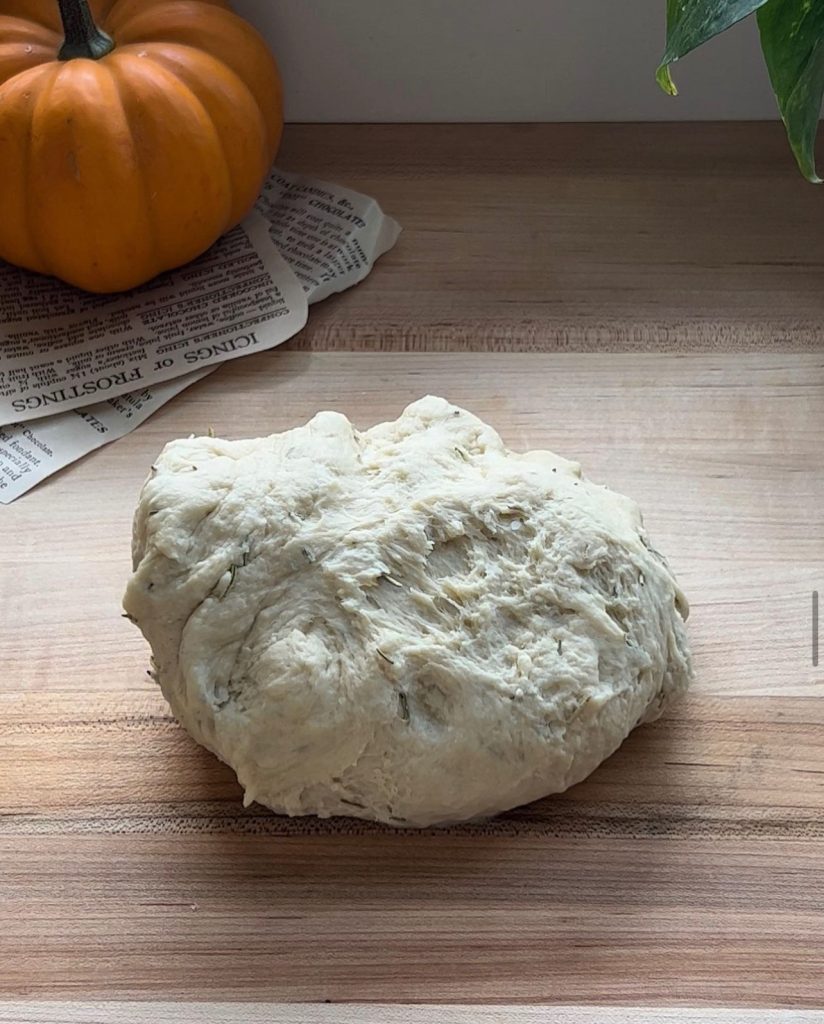
- Now, you can use a stand mixer – but if you don't have one, with lightly floured hands, knead your dough for 8-10 minutes on a clean and floured work surface until smooth.
- The dough will start off quite sticky, but after several minutes of kneading the dough on an a floured work surface – it will eventually come together beautifully. (Don’t add more than an extra 1/2 cup of flour)
- Once your dough is smooth, cover and let it rest for 15 minutes.
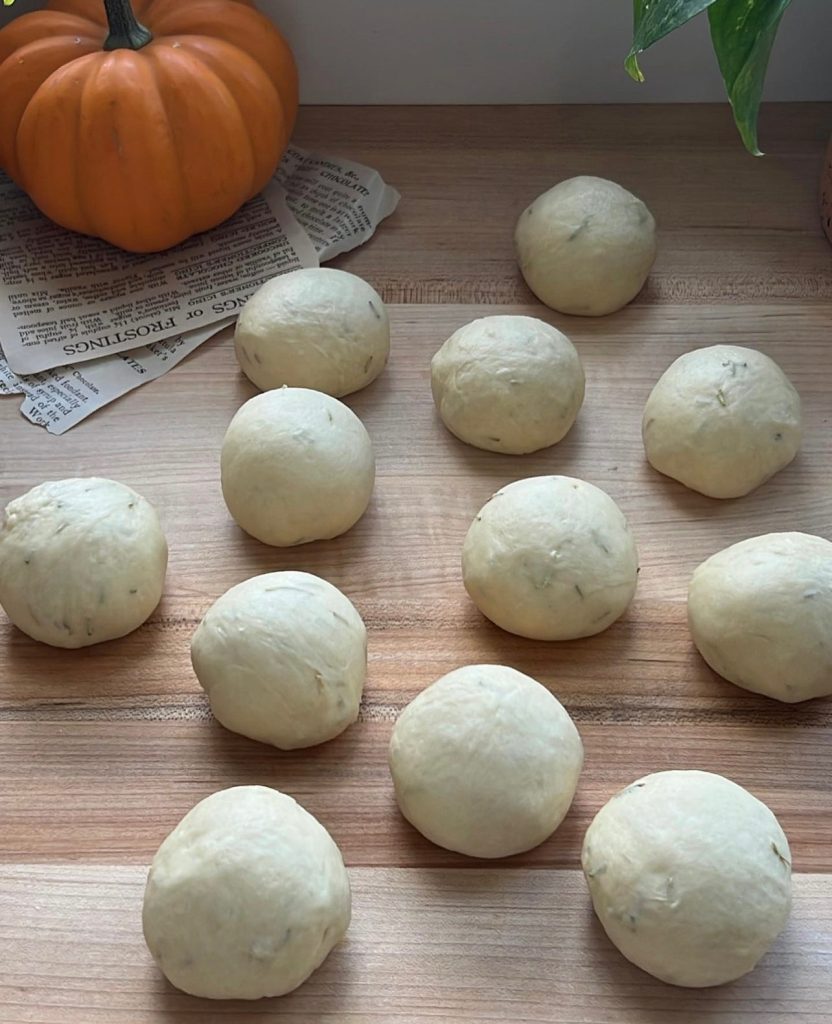
Shape your dough:
- Next, separate your dough into 12 dough balls (each around 58 grams in weight)
- Stuff each dough ball with freshly grated mozzarella; Pinch your dough closed. Ensure a tight closure by firmly pinching the dough together.
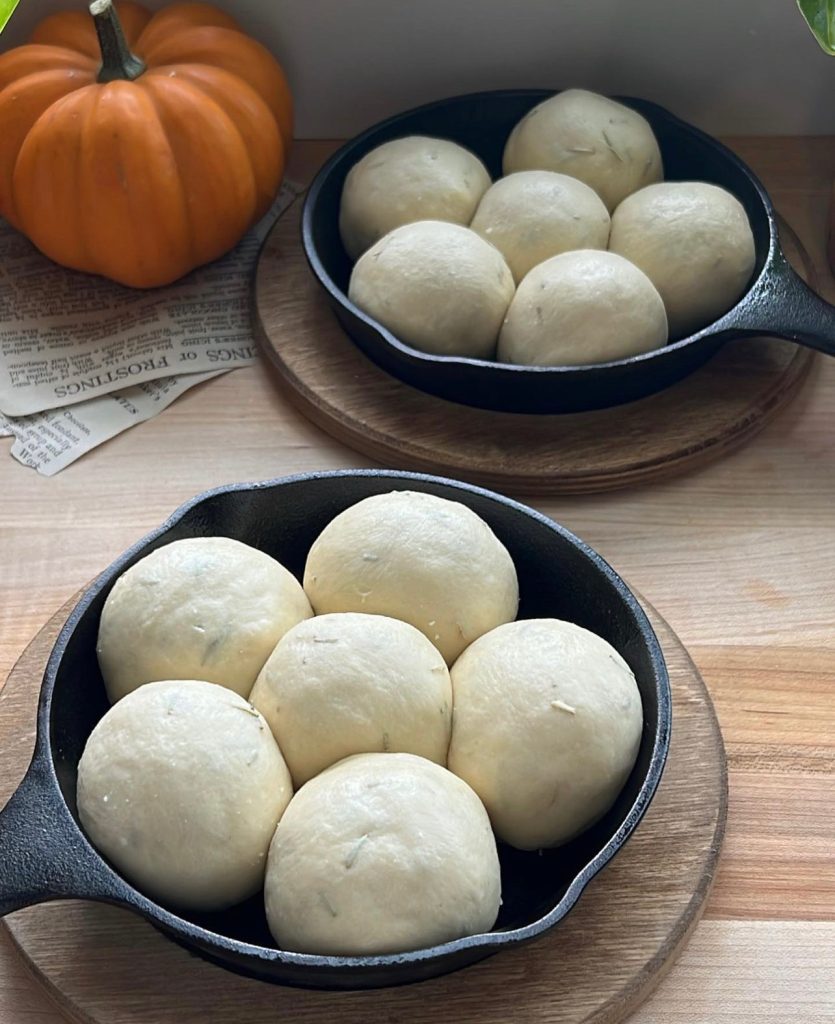
Baking your pull-apart bread:
- Add to a prepared pan (the skillets shown are both 5 inches, but feel free to use a large baking sheet or cake tin instead)
- Cover with a damp cloth and allow them to rest for 10 minutes.
- After 10 minutes, brush with egg wash and bake for 25-30 minutes. The bottom and top of your bread should be beautifully golden.
- While your bread is baking, mix together all of your garlic butter ingredients and set to the side.
- Fresh out of the oven, brush with your garlic butter mixture, and you’re done!
17 Comments
Join The Conversation


this came out AMAZING!!! The recipe was so easy to follow and clearly broke down all the steps.
The bread was delicious and I’ll definitely be making this again 🙂 !
I seriously am obsessed with this recipe. Every time I make it, my family and friends adore it. It was the first ever recipe I tried from mxriyum and was what got me back into baking. Thank you for making this incredible recipe.
Wonderfully written and explained.
These turned out so delicious!
I have made these twice, my husband now has an addiction 😂 love this recipe and all the step by step instructions!
This was my first time making my own dough and it worked out perfectly. Super helpful instructions and delicious recipe! Will definitely be making again!
I tried out this recipe one Thanksgiving, and since then, my family demands them every time I see them! I even made these for an event at my university, which ended up being the one dish with no leftovers. They have such a great balance of seasoning to bread; not so much that it’s distracting, but enough that it separates them from common dinner rolls. If you’re not super big on spicy things, I might lessen the amount of red pepper flakes used, but that’s the only caution I’d give. I’ve also tried them with and without dry milk, but the only difference I noticed was that the dough was less sticky with the dry milk and therefore easier to shape. But they tasted the same in the end.
Thank you so much for sharing this recipe, it’s now a go-to when cooking from home!!
I’ve made this recipe multiple times sometimes with cheese and sometimes without. Turns out excellent every time!
Just to confirm, there’s no proofing needed in this recipe??
Made it last night. It was amazing and I got it right on the first try thanks to the detailed and clear recipe!
This is our favourite bread recipe, I would be lost without it. Thank you for sharing.
Easy well instructed recipe to follow, rolls came out yummy and fluffy. Will be making again!
Family really enjoyed this, thank you
I discovered this back in 2022 and everytime I make it it turns out AMAZING!!
You can replace the herbs in the recipe with others as well (so have fun experimenting!) My favorite is Thyme and sage 🙂
I always get compliments on this bread, it’s perfect to bring to a potluck or get togethers, and if youre like me – everyone will think your a great cook even if your not haha 😉
How many tablespoons of cheese do I put in the bread without it exploding or not being enough?
These rolls are amazing! They have come out great everytime I have made them! They are so easy to make and are very quick compared to other rolls I have made.
Made these for Thanksgiving 2 years in a row now because my family loved them so much! Made them exactly like the recipe said and they came out perfectly. Half the family prefers them without the extra butter brushed on at the end. They last well for a few days in the fridge (if they don’t get scarfed down) and warm up nicely in the microwave with leftovers😽
I never comment on recipes – but if you are on the fence, YOU NEED TO TRY IT! I am not the best bread maker, but these turn out flawless every time. I also would highly recommend stuffing them with cooked ground meat too! The only thing I’ve had a hard time with is getting enough flour in. I always add at least 1/2 cup of flour. Other than that, this is a killer recipe.