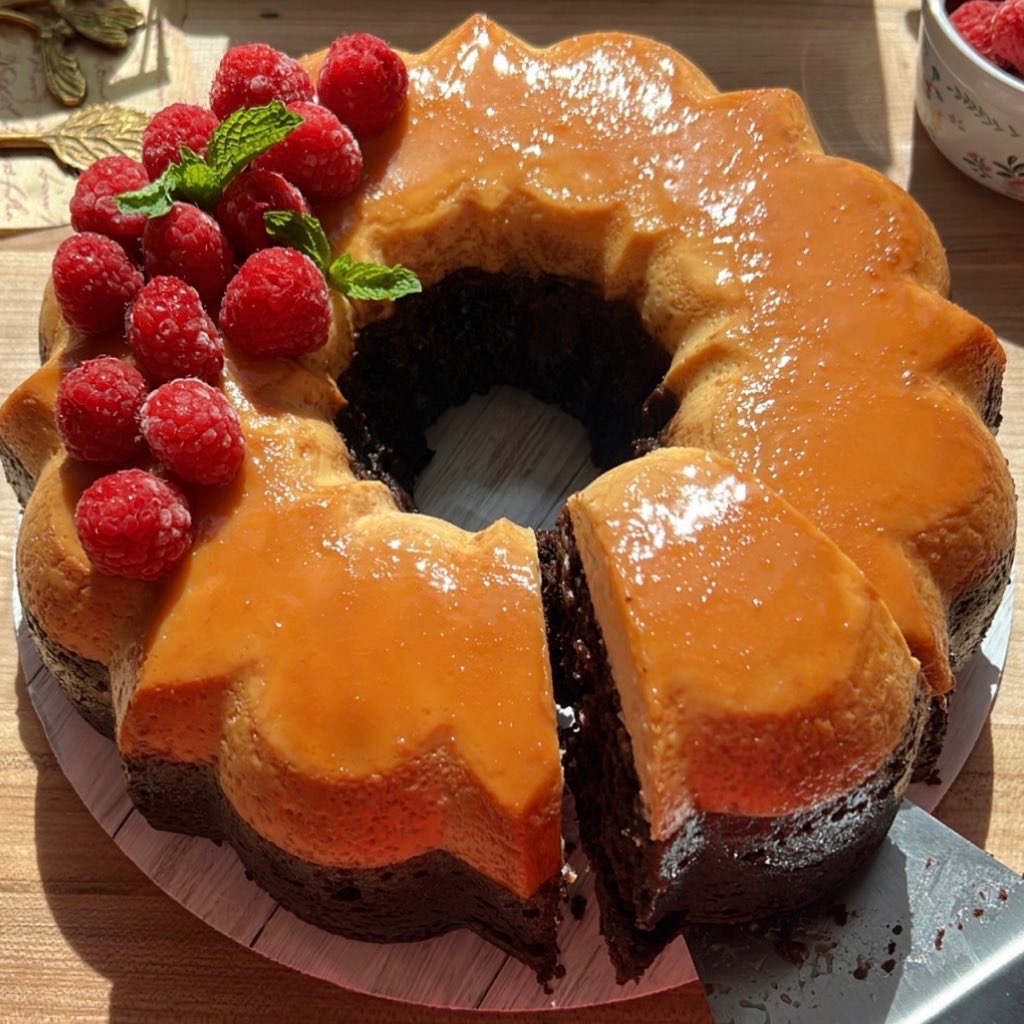
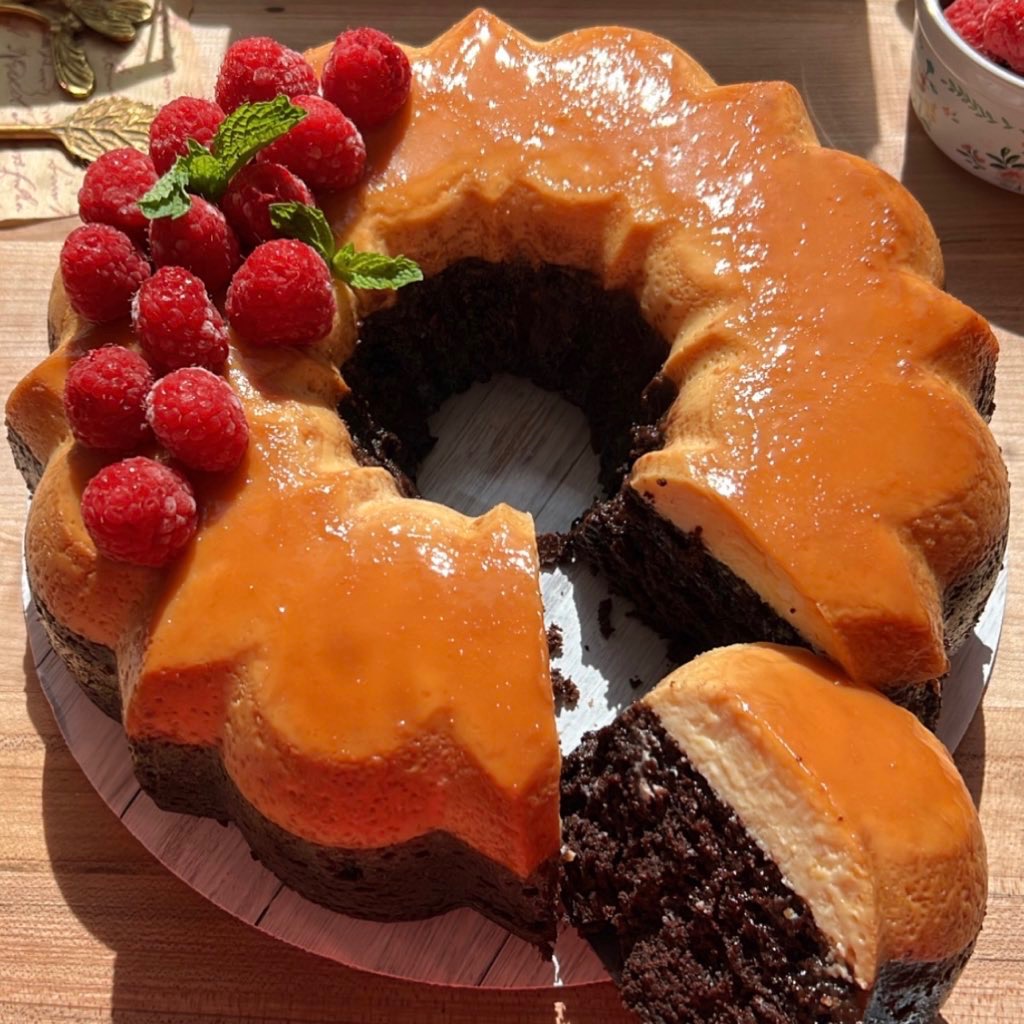
Chocoflan
- June 22, 2023
- 14 Comments
- Dessert
I have a big appreciation for Mexican desserts, especially Chocoflan! This dessert perfectly combines rich chocolate cake with creamy flan. It’s the most beautiful mix of textures and flavors, I could honestly go on for hours.

Today we’re making Chocoflan! This dessert is the perfect blend of rich chocolate cake and creamy flan. The chocolate cake is moist and tender, while the flan is smooth and silky. The contrast in textures makes each bite so delicious. It’s perfect for any gathering or just a cozy night in with your loved ones!
Heres a video to guide you along the process:
Few tips:
- Accurate measurements are so important for baking! Make sure you’re being considerate of using the correct measurements – if you want it to turn out well.
- When you’re making the caramel, pay attention to the heat and stir consistently to prevent burning. Use low heat and continue stirring until the sugar melts and turns into a smooth syrup.
- When you’re blending the ingredients for the Queso Flan layer, make sure you blend them thoroughly until the mixture becomes smooth and all the ingredients are well incorporated. We want it to be creamy, not textured.
- While pouring the Queso Flan layer over the caramel and the chocolate cake layer over the baked flan, do it slowly and evenly as best as you can. you want to be gentle if you want the layers to stay distinctly separate.
- While it is possible to bake both layers together simultaneously (with the chocolate layer first and the flan layer on top), I personally prefer to bake the flan layer for a short duration beforehand for a bit of a neater outcome.
- Placing the flan mold or dish in a water bath during baking helps makes sure it bakes evenly and prevents the cake from drying out.
- To check if the Chocoflan is fully baked, insert a toothpick into the center of the cake layer. If it comes out clean or with a few crumbs, the cake is done. If there is wet batter clinging to the toothpick, continue baking for a few more minutes and retest.
- Let your Chocoflan cool at room temperature for one hour before transferring it to the refrigerator for chilling. Cooling and chilling help the flavors meld together and allow for easier slicing and serving.
Process:
Chocoflan
Chocoflan unites the rich taste of chocolate cake with the creamy texture of flan, resulting in a visually beautiful and incredibly delicious dessert!
Equipment
- 12 Cup bundt pan, 10.5 inches If your bundt pan/cake mold is smaller – I suggest making two chocoflans instead of one.
Ingredients
Caramel:
- 1 cup Sugar 200 grams
Queso Flan layer:
- 1 1/2 cups Whole milk 12 oz
- 1 can Condensed milk 14 oz
- 5 Eggs
- 2 tsp Vanilla
- 1/4 tsp Salt
- 4 oz Cream cheese
Chocolate cake layer:
- 2 cups Sugar 400 grams
- 2 Eggs
- 1 cup Whole milk 8 oz
- 1/2 cup Vegetable oil 4 oz
- 1 cup Warm water 8 oz
- 2 tsp Vanilla extract
- 2 cups Flour 310 grams
- 1 1/4 cups Cocoa powder 108 grams
- 1 tsp Instant coffee
- 1 1/2 tsp Baking powder
- 1 1/2 tsp Baking soda
- 1/4 tsp Cinnamon
Instructions
Caramel:
- Place a saucepan on the stove over medium heat.
- Pour 1 cup of granulated sugar into the saucepan, spreading it out evenly.
- For beginner bakers, I highly encourage you to continue stirring the sugar while making caramel to prevent it from burning, especially if you haven't made caramel before. While some recipes may suggest melting sugar without stirring, it's better to err on the side of caution and keep stirring until you gain more experience. The last thing i would want is for you to deal with hot, burned caramel.
- Stir consistently to prevent burning. You're going to notice your sugar start to clump and crystalize.
- As the sugar continues to melt, it will start to turn into a golden syrup. If you notice any areas where the sugar is not melting, be patient, turn your heat down to low, and continue to stir until you reach a smooth consistency.
- Once the sugar has completely melted and reached a deep amber color, remove the saucepan from the heat immediately. The residual heat in the pan will continue to darken the caramel, so it's important to act quickly.
- Carefully and slowly pour the hot caramel into the bottom of your prepared flan mold (spray or rub with cooking oil) , tilting it to coat the bottom evenly. Be cautious as the caramel is extremely hot and can cause burns.
- Quickly swirl the caramel around the sides of the mold or dish to create an even layer. The caramel will begin to harden rapidly, so work swiftly.
- Set the caramel-coated mold aside and allow the caramel to cool and harden completely. It will form a solid layer.
Queso Flan layer:
- Preheat your oven to 350°F (175°C).
- Start by gathering all the ingredients: 1 1/2 cups whole milk, 12 oz can condensed milk, 5 eggs, 2 tsp vanilla, 1/4 tsp salt, and 4 oz cream cheese.
- Add all of you ingredients into a blender.
- Place the lid securely on the blender.
- Start the blender on low speed to allow the ingredients to start combining.
- Gradually increase the speed to medium or high, depending on the power of your blender. Blend for a 1-2 minutes or until the mixture becomes smooth and all the ingredients are well incorporated.
- Stop the blender and remove the lid. Use a spatula to scrape down the sides of the blender jar, ensuring all the ingredients are fully mixed.
- Give the mixture a final blend for a few seconds to make sure it is well combined.
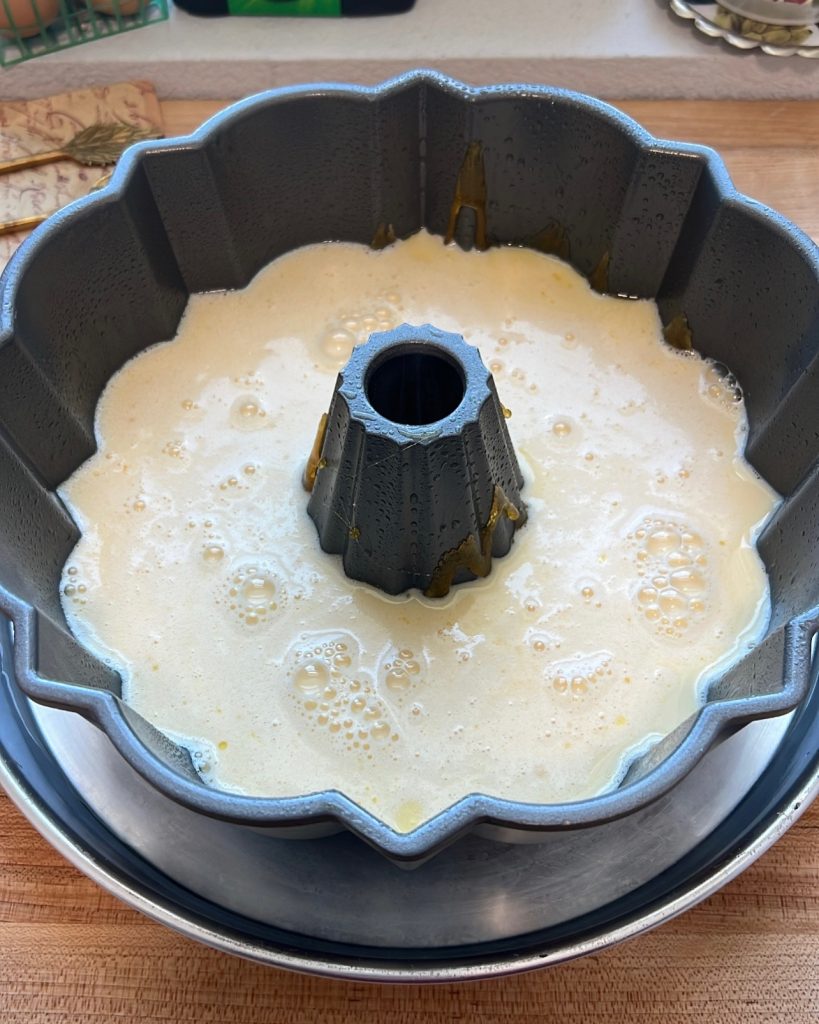
- Once blended, the queso flan mixture is ready to be poured into the caramel-coated mold or dish as per the previous instructions. With cooking spray, spray your pan one more time before adding your mixture.
- Place the filled flan mold or dish into the larger baking dish or roasting pan.
- Create a water bath by pouring hot water into the larger baking dish or roasting pan. Ideally, The water should reach about halfway up the sides of the flan mold or dish.
- Cover Flan with foil.
- Carefully transfer the water bath with the flan into the preheated oven.
- Bake the flan for 50 minutes
Chocolate cake:
- In a large mixing bowl, combine the sugar and eggs. Beat them together using an electric mixer on medium speed for about 4 minutes until the mixture becomes pale and fluffy. You can also use a stand mixer.
- Pour in the milk, vegetable oil, warm water with instant coffee, and vanilla extract. Continue mixing on low speed until all the ingredients are well incorporated, scraping down the sides of the bowl as needed. Be careful not to over-mix.
- Now, add the all-purpose flour, cocoa powder, baking soda, baking powder, and cinnamon to the bowl. Mix on low speed until ingredients are incorporated, be careful not to over-mix.
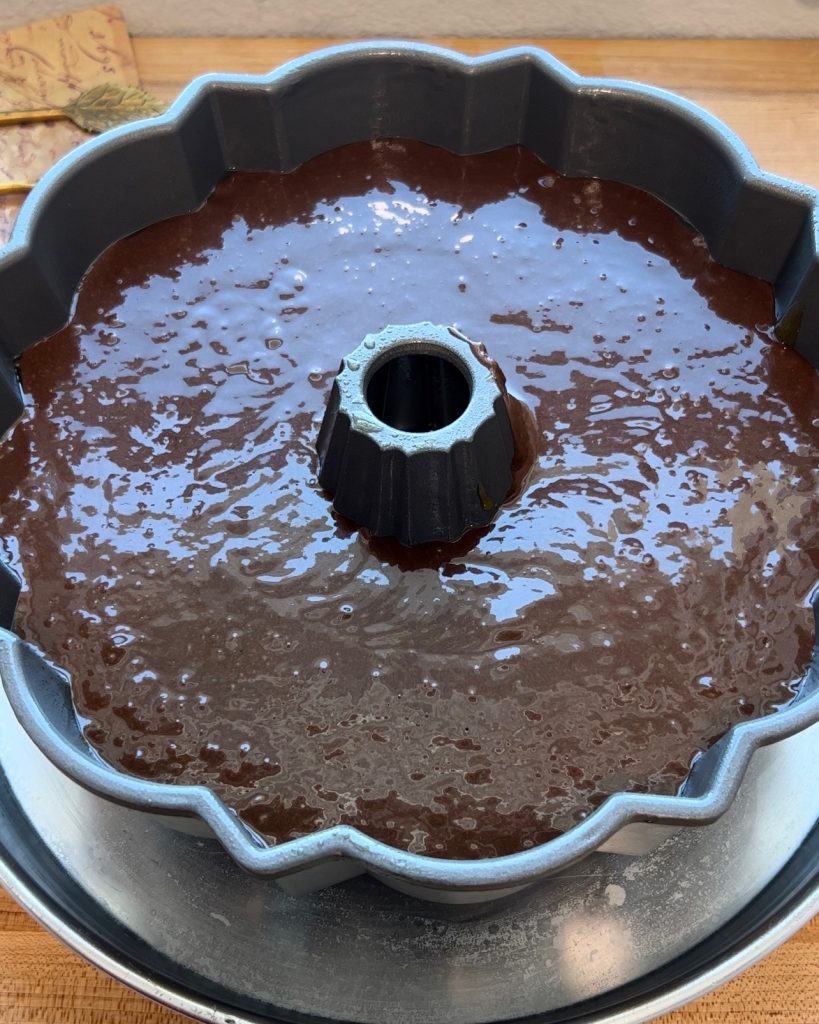
- Pour chocolate cake batter over your baked flan.
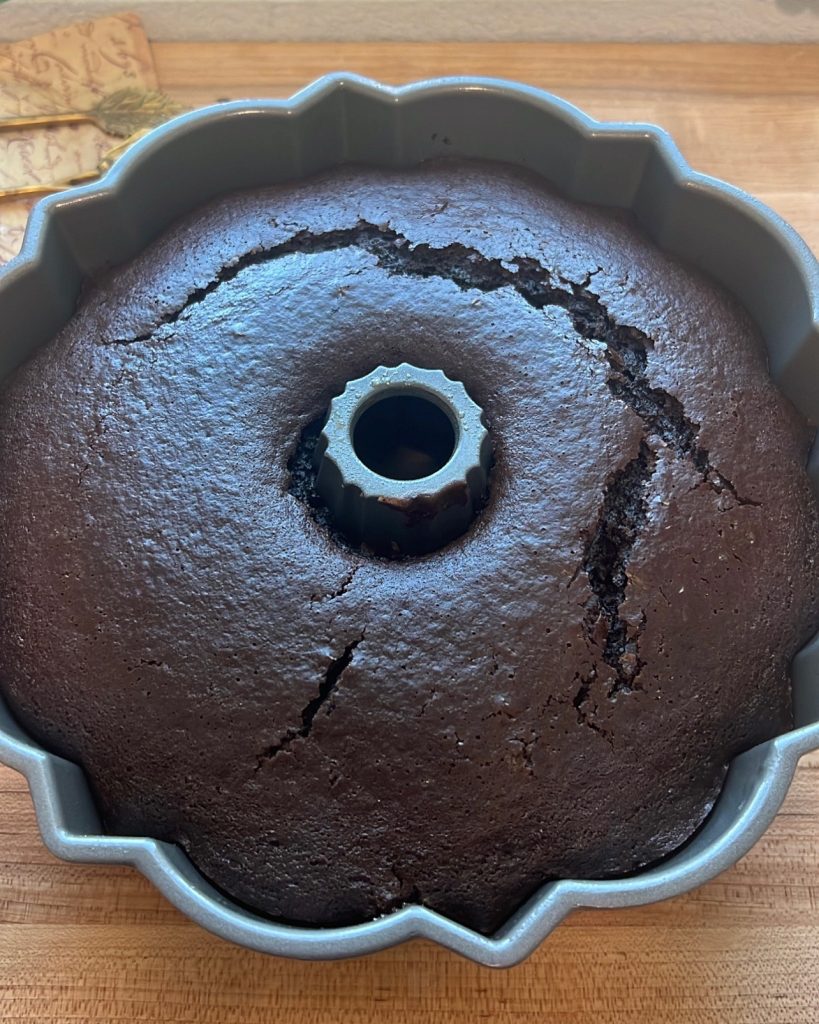
- In a water bath – pop it back in the oven, covered with foil, and bake for another 50-75 minutes or until a toothpick inserted into the center of the cakes comes out clean.
- Bake time depends on your oven. Also depends on the size of your bundt pan & if you had to separate the recipe into 2 cake tins. Keep your eye on it!
- Remove your Chocoflan from the oven and let it cool at room temp for one hour.
- After 1 hour; Refrigerate for at-least 2 hours before serving, overnight is preferred!
- Enjoy your delicious Chocoflan the next day!
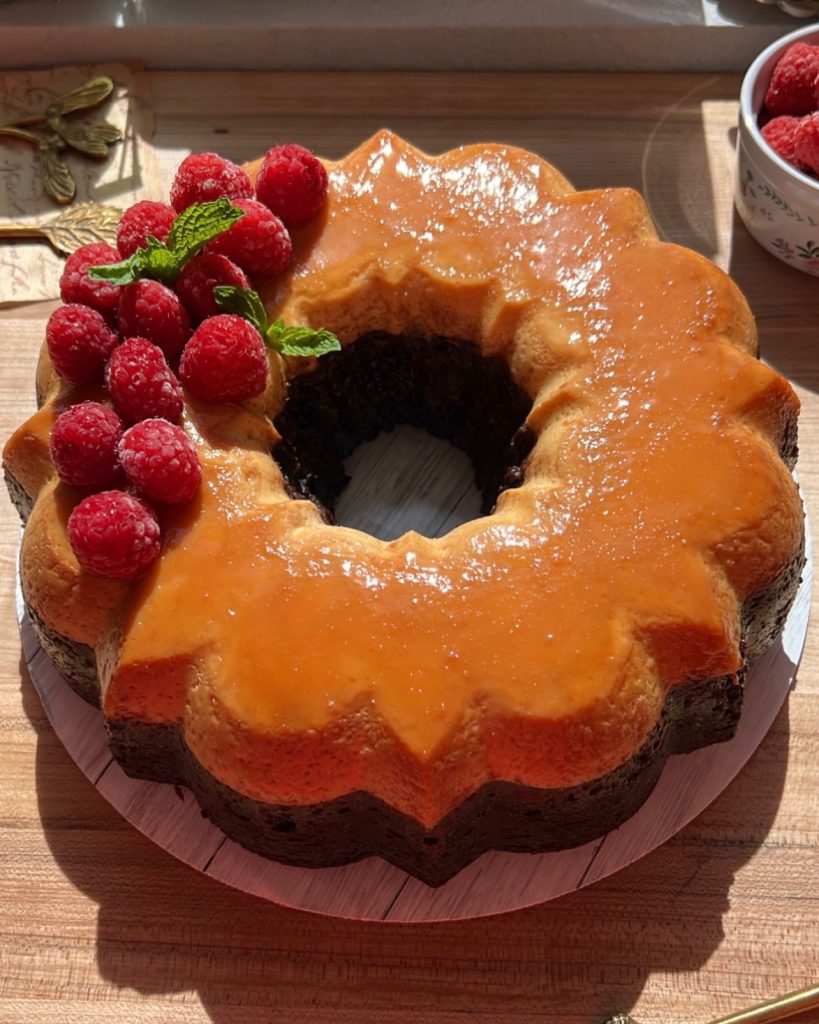
- To loosen the cake, carefully place the Bundt pan in a large bowl of hot water, allowing the warmth to release the cake from the pan. Next, take an upside-down platter and position it on top of the cake pan, then confidently flip the pan to unmold the cake. Finally, drizzle any remaining caramel from the pan over the top of the cake.
- You can make Chocoflan up to three days in advance. Simply store it in an airtight container and refrigerate until ready to serve.
- And you're done!
14 Comments
Join The Conversation


Cream Cheese makes all the difference! Great recipe!
Thank you so much!
I always wanted to try this cake 😍😍😍
Try it out this weekend!
I think my caramel came out wrong, it did not stick to the mold at allll lol help plsss
I made it for eid and it was so delicious, my entire family loved it; a lot of the caramel stuck on the pan tho and i didn’t know how to take it out so i only managed to get a little out but still so yummy. definitely a 10/10 and will be making again
Can I use dulce de leche at the bottom instead of the caramel?
If I wanted to make mini versions of these (let’s say 6 or 8 oz ramekins), how much would my bake time be both times? (Would you recommend doing this?)
I baked the queso flan layer for 75 mins and it was still not as set as in your video. What could i have done wrong?
You’re meant to let it set in the fridge overnight! as mentioned in the directions
Oh I was actually referring to the flan layer part before pouring the chocolate cake layer. The flan was somewhat jiggly but I took the risk and just slowly poured the chocolate layer. Amazingly, the chocolate layer didnt sink and overall, the cake turned out so good! I got the nicely demarcated layers of flan and chocolate cake. Thanks for the recipe!!
Love all these recipes! I just wish there was a way to print them from the site, so I can add them to my recipe book!
This was my first time making chocoflan but not the first time trying one. This came out soooo delicious and I actually liked it which is a definite first for me! I’ve never liked chocoflan but my family loves it and we especially loved this one. I did everything exactly how you have in your recipe. I wish I could attach pictures because it came out so beautifully that I took plenty. Thank you for sharing your recipes with us and always, always, ALWAYS…. Free Palestine 🇵🇸
Hi! I am attempting the Chocoflan this weekend and wondering if a cake pan or a bundt pan will work better? My Bundt pan is rounded on the stop as opposed to the flat layer the one pictured has. Any tips?